> ## Documentation Index
> Fetch the complete documentation index at: https://docs.zbdpay.com/llms.txt
> Use this file to discover all available pages before exploring further.
# Integration Guide
> Complete guide to integrating ZBD Ramp into your application
Get ZBD Ramp integrated into your application in minutes using our official SDKs. This guide covers session initialization, widget rendering, and webhook handling.
## Choose Your SDK
Select the SDK that best fits your application:
Core SDK for Node.js, browsers, and JavaScript frameworks
React components and hooks for web applications
Native components for iOS and Android apps
Flutter plugin for cross-platform mobile apps
## Integration Flow
Add the appropriate ZBD Ramp SDK to your project
Create a session token from your backend using the SDK
Display the Ramp widget using SDK components
Process webhooks and widget callbacks
## Quick Start
### 1. Install the SDK
```bash theme={null}
npm install @zbdpay/ramp-ts
```
```bash theme={null}
npm install @zbdpay/ramp-react
```
```bash theme={null}
npm install @zbdpay/ramp-react-native react-native-webview
```
### 2. Initialize Session (Backend)
Create a session token from your backend to keep your API key secure:
```typescript theme={null}
import { initRampSession, QuoteCurrencyEnum, BaseCurrencyEnum } from '@zbdpay/ramp-ts';
const response = await initRampSession({
apikey: process.env.ZBD_API_KEY,
email: 'user@example.com',
destination: 'lightning-address@zbd.gg',
quote_currency: QuoteCurrencyEnum.USD,
base_currency: BaseCurrencyEnum.BTC,
webhook_url: 'https://yourapp.com/webhooks/zbd',
reference_id: 'user_123_purchase_456',
metadata: {
user_id: '123',
session_id: 'abc'
}
});
const sessionToken = response.data.session_token;
```
```javascript theme={null}
const { initRampSession, QuoteCurrencyEnum, BaseCurrencyEnum } = require('@zbdpay/ramp-ts');
const response = await initRampSession({
apikey: process.env.ZBD_API_KEY,
email: 'user@example.com',
destination: 'lightning-address@zbd.gg',
quote_currency: QuoteCurrencyEnum.USD,
base_currency: BaseCurrencyEnum.BTC,
webhook_url: 'https://yourapp.com/webhooks/zbd'
});
const sessionToken = response.data.session_token;
```
```bash theme={null}
curl -X POST https://api.zbdpay.com/api/v1/ramp-widget \
-H "Content-Type: application/json" \
-H "apikey: YOUR_API_KEY" \
-d '{
"email": "user@example.com",
"webhook_url": "https://yourapp.com/webhooks/zbd",
"quote_currency": "USD",
"base_currency": "BTC",
"destination": "lightning-address@zbd.gg"
}'
```
### 3. Render Widget (Frontend)
Display the Ramp widget in your application:
```tsx theme={null}
import { ZBDRamp } from '@zbdpay/ramp-react';
function PaymentPage({ sessionToken }) {
return (
{
console.log('Payment successful:', data);
// Handle successful payment
}}
onError={(error) => {
console.error('Payment error:', error);
// Handle error
}}
onClose={() => {
console.log('Widget closed');
// Handle close
}}
style={{ width: '100%', height: '600px' }}
/>
);
}
```
```javascript theme={null}
import { createRamp } from '@zbdpay/ramp-ts';
const ramp = createRamp({
sessionToken: 'your-session-token',
container: '#ramp-container',
onSuccess: (data) => {
console.log('Payment successful:', data);
},
onError: (error) => {
console.error('Payment error:', error);
},
onClose: () => {
console.log('Widget closed');
}
});
ramp.mount();
```
```tsx theme={null}
import { ZBDRamp } from '@zbdpay/ramp-react-native';
import { View, StyleSheet } from 'react-native';
function PaymentScreen({ sessionToken }) {
return (
{
console.log('Payment successful:', data);
}}
onError={(error) => {
console.error('Payment error:', error);
}}
style={styles.webview}
/>
);
}
const styles = StyleSheet.create({
container: { flex: 1 },
webview: { flex: 1 }
});
```
### 4. Handle Webhooks
Process webhook events on your backend:
```javascript theme={null}
app.post('/webhooks/zbd', (req, res) => {
const event = req.body;
switch(event.type) {
case 'ramp.purchase.completed':
// Payment successful - credit user account
const { amount, currency, reference_id } = event.data;
creditUserAccount(reference_id, amount);
break;
case 'ramp.purchase.failed':
// Payment failed - notify user
notifyUserOfFailure(event.data.reference_id);
break;
case 'ramp.kyc.completed':
// KYC completed - update user status
updateUserKYCStatus(event.data.user_id);
break;
}
res.status(200).send('OK');
});
```
## Complete Example
Here's a full implementation using React and Node.js:
### Backend (Node.js + Express)
```javascript theme={null}
import express from 'express';
import { initRampSession, QuoteCurrencyEnum, BaseCurrencyEnum } from '@zbdpay/ramp-ts';
const app = express();
app.use(express.json());
// Create session endpoint
app.post('/api/ramp/session', async (req, res) => {
try {
const response = await initRampSession({
apikey: process.env.ZBD_API_KEY,
email: req.body.email,
destination: req.body.destination,
quote_currency: QuoteCurrencyEnum.USD,
base_currency: BaseCurrencyEnum.BTC,
webhook_url: `${process.env.BASE_URL}/webhooks/zbd`,
reference_id: req.user.id,
metadata: {
user_id: req.user.id,
session_id: req.session.id
}
});
res.json({ sessionToken: response.data.session_token });
} catch (error) {
res.status(500).json({ error: 'Failed to create session' });
}
});
// Webhook handler
app.post('/webhooks/zbd', async (req, res) => {
const event = req.body;
if (event.type === 'ramp.purchase.completed') {
// Credit user's account
await creditUserBalance(
event.data.reference_id,
event.data.amount,
event.data.currency
);
}
res.status(200).send('OK');
});
```
### Frontend (React)
```tsx theme={null}
import React, { useState, useEffect } from 'react';
import { ZBDRamp } from '@zbdpay/ramp-react';
function BuyBitcoin() {
const [sessionToken, setSessionToken] = useState(null);
const [loading, setLoading] = useState(true);
useEffect(() => {
// Fetch session token from backend
fetch('/api/ramp/session', {
method: 'POST',
headers: { 'Content-Type': 'application/json' },
body: JSON.stringify({
email: user.email,
destination: user.lightningAddress
})
})
.then(res => res.json())
.then(data => {
setSessionToken(data.sessionToken);
setLoading(false);
});
}, []);
if (loading) return Loading...
;
return (
Buy Bitcoin
{
alert('Payment successful!');
window.location.href = '/wallet';
}}
onError={(error) => {
alert(`Payment failed: ${error.message}`);
}}
style={{ width: '100%', height: '600px' }}
/>
);
}
```
## Session Parameters
When initializing a session, you can configure various parameters:
| Parameter | Type | Required | Description |
| ---------------- | ------ | -------- | -------------------------------- |
| `apikey` | string | Yes | Your ZBD API key |
| `email` | string | Yes | User's email address |
| `webhook_url` | string | Yes | URL for webhook notifications |
| `destination` | string | No | Lightning or Bitcoin address |
| `quote_currency` | enum | No | Source currency (USD, EUR, etc.) |
| `base_currency` | enum | No | Target currency (BTC) |
| `reference_id` | string | No | Your internal reference ID |
| `metadata` | object | No | Additional data to attach |
Sessions expire after 15 minutes. Create a new session if the user needs more time.
## Security Best Practices
* Never expose API keys in frontend code
* Always create sessions from your backend
* Use environment variables
* Rotate keys regularly
* Use HTTPS endpoints only
* Implement idempotency
* Verify webhook signatures
* Log all events for audit
## Demo Applications
To help you get started quickly, we've created example applications showing ZBD Ramp integration across different platforms. These demos showcase best practices and real-world implementation patterns.
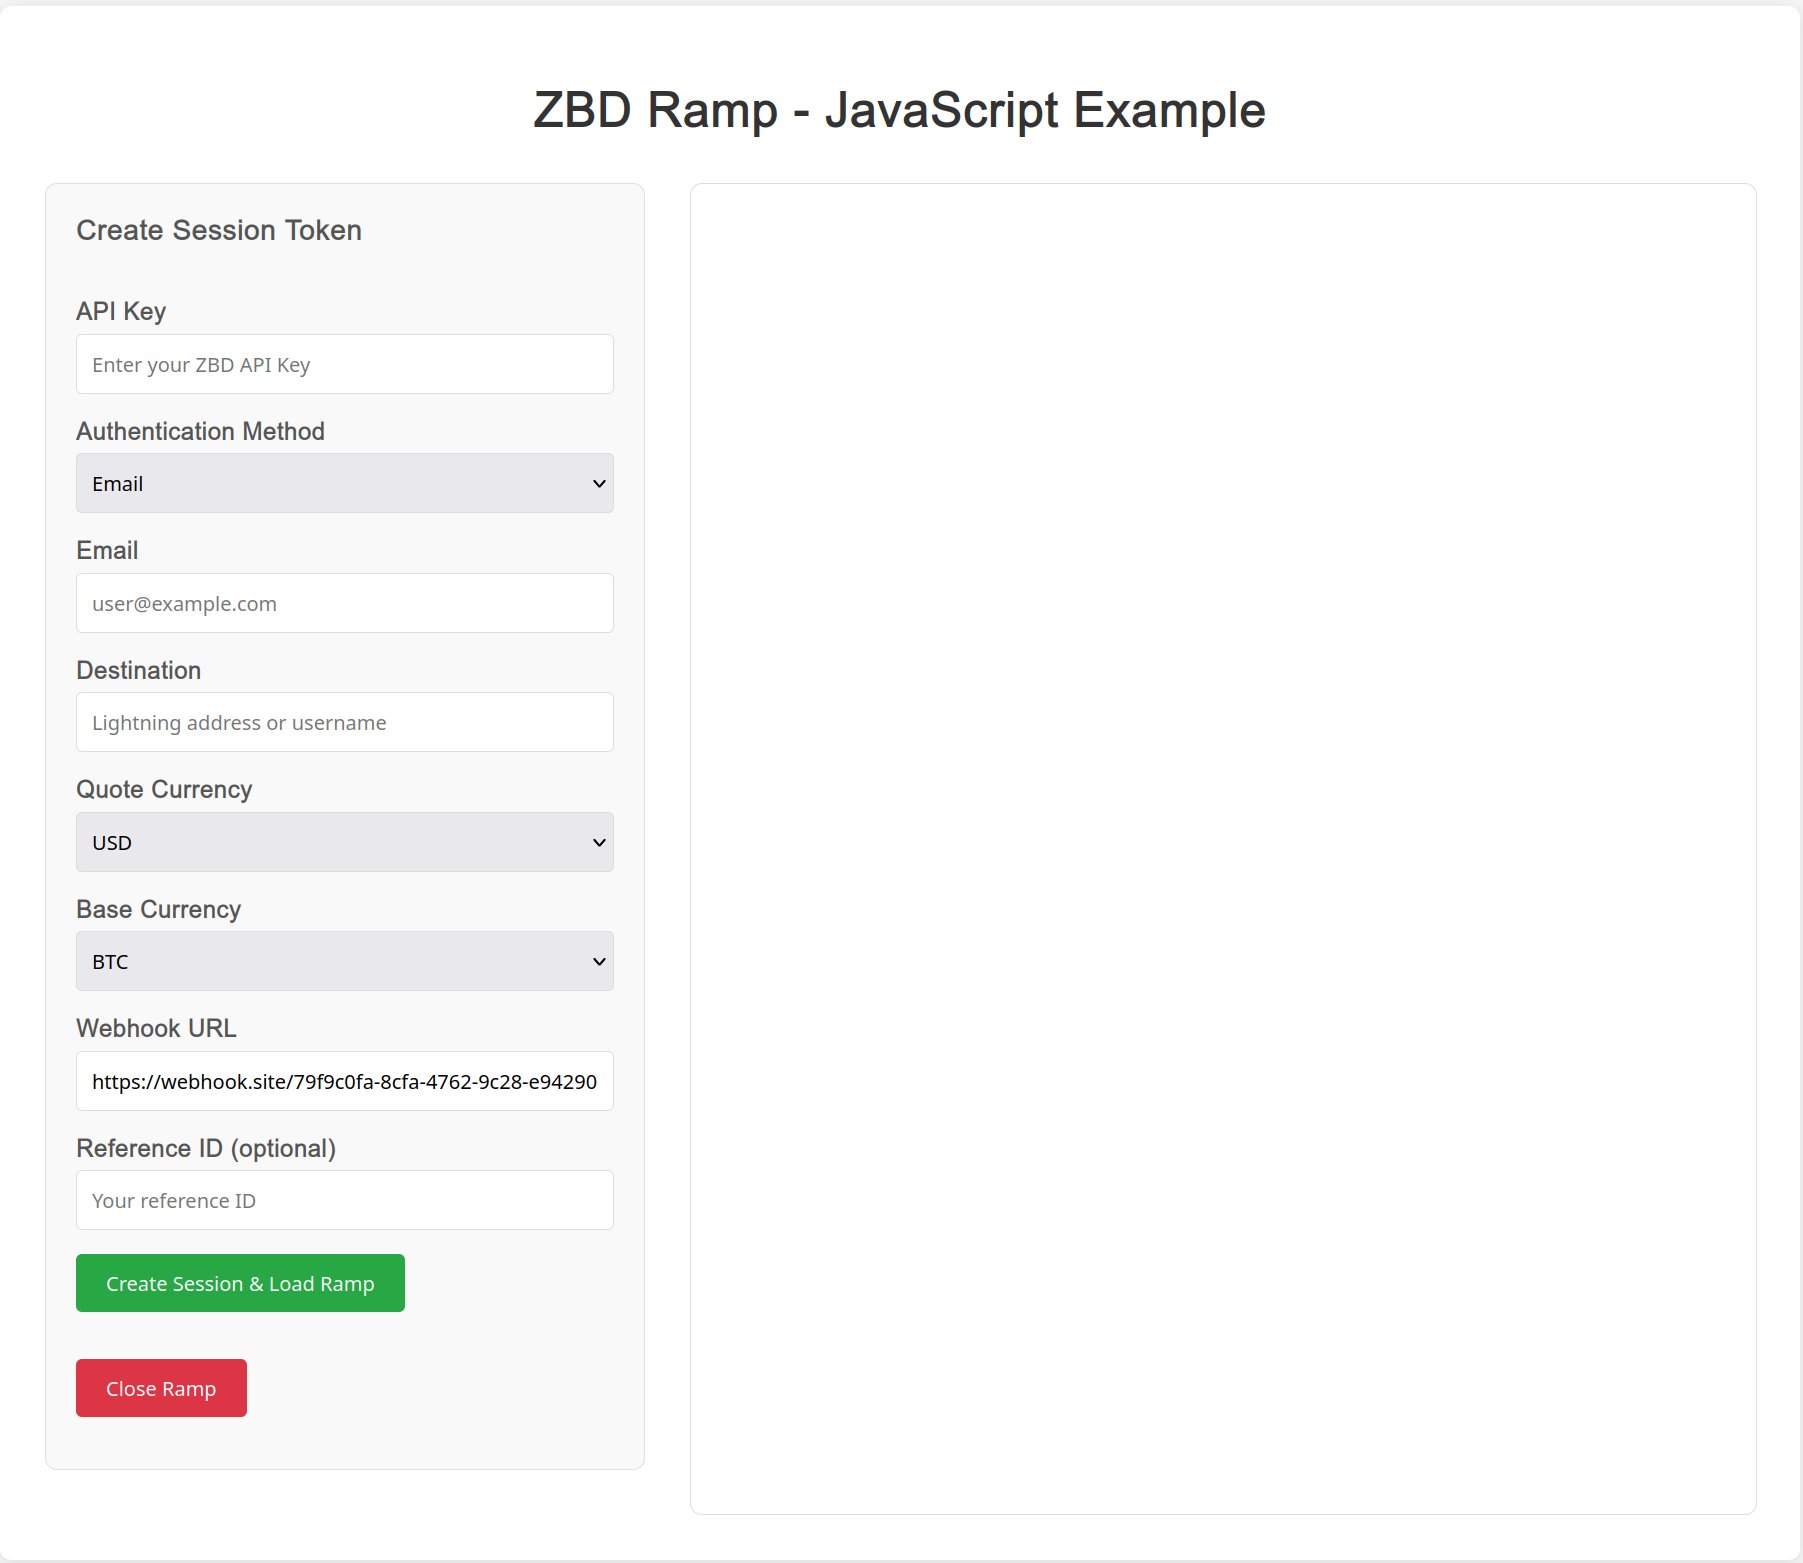 **Features:**
* Clean TypeScript implementation
* Session management
* Webhook handling
* Error handling examples
Perfect for web applications and Node.js backends. See the [TypeScript SDK documentation](/payments/ramp/sdks/typescript) for more details.
**Features:**
* Clean TypeScript implementation
* Session management
* Webhook handling
* Error handling examples
Perfect for web applications and Node.js backends. See the [TypeScript SDK documentation](/payments/ramp/sdks/typescript) for more details.
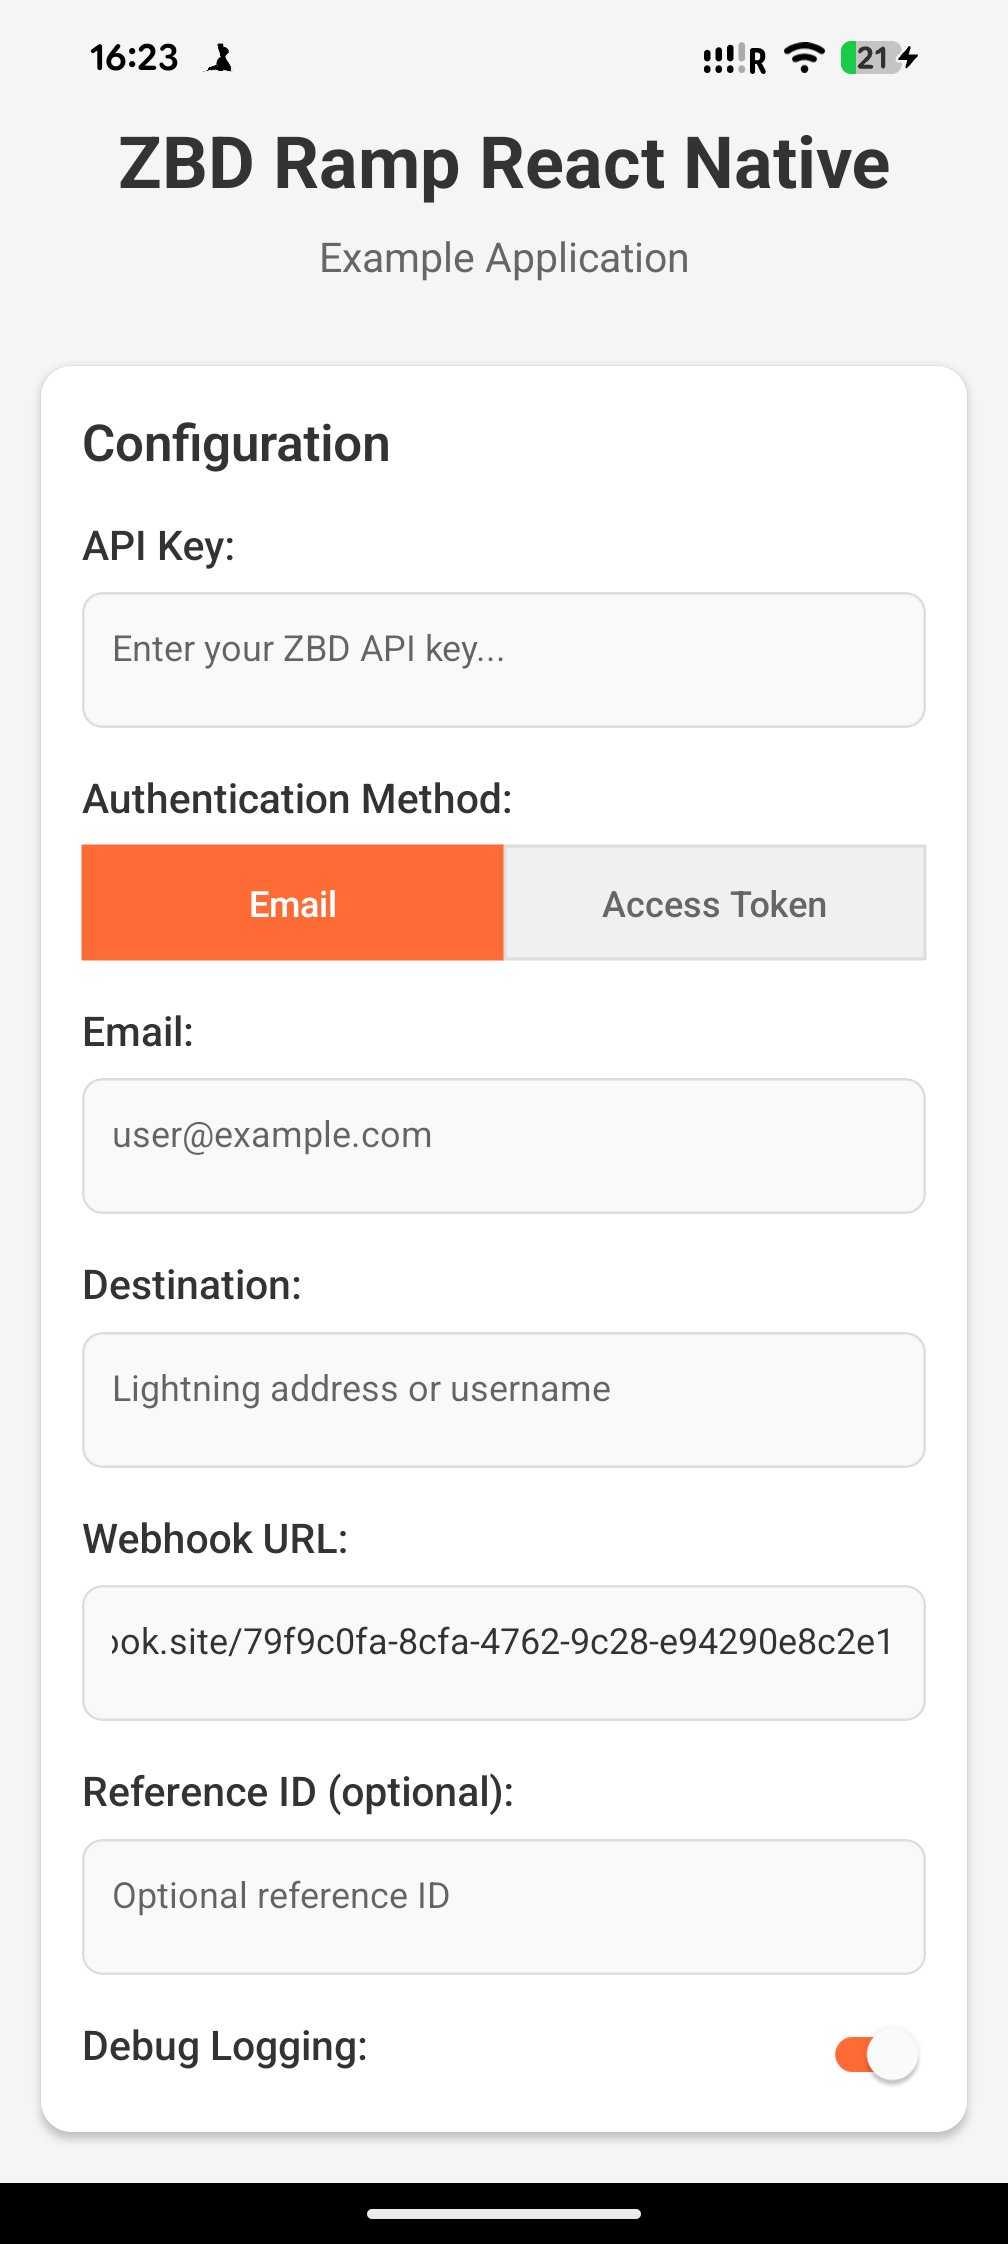 **Features:**
* Native mobile integration
* WebView implementation
* iOS and Android support
* Navigation patterns
Ideal for cross-platform mobile apps. See the [React Native SDK documentation](/payments/ramp/sdks/react-native) for implementation details.
**Features:**
* Native mobile integration
* WebView implementation
* iOS and Android support
* Navigation patterns
Ideal for cross-platform mobile apps. See the [React Native SDK documentation](/payments/ramp/sdks/react-native) for implementation details.
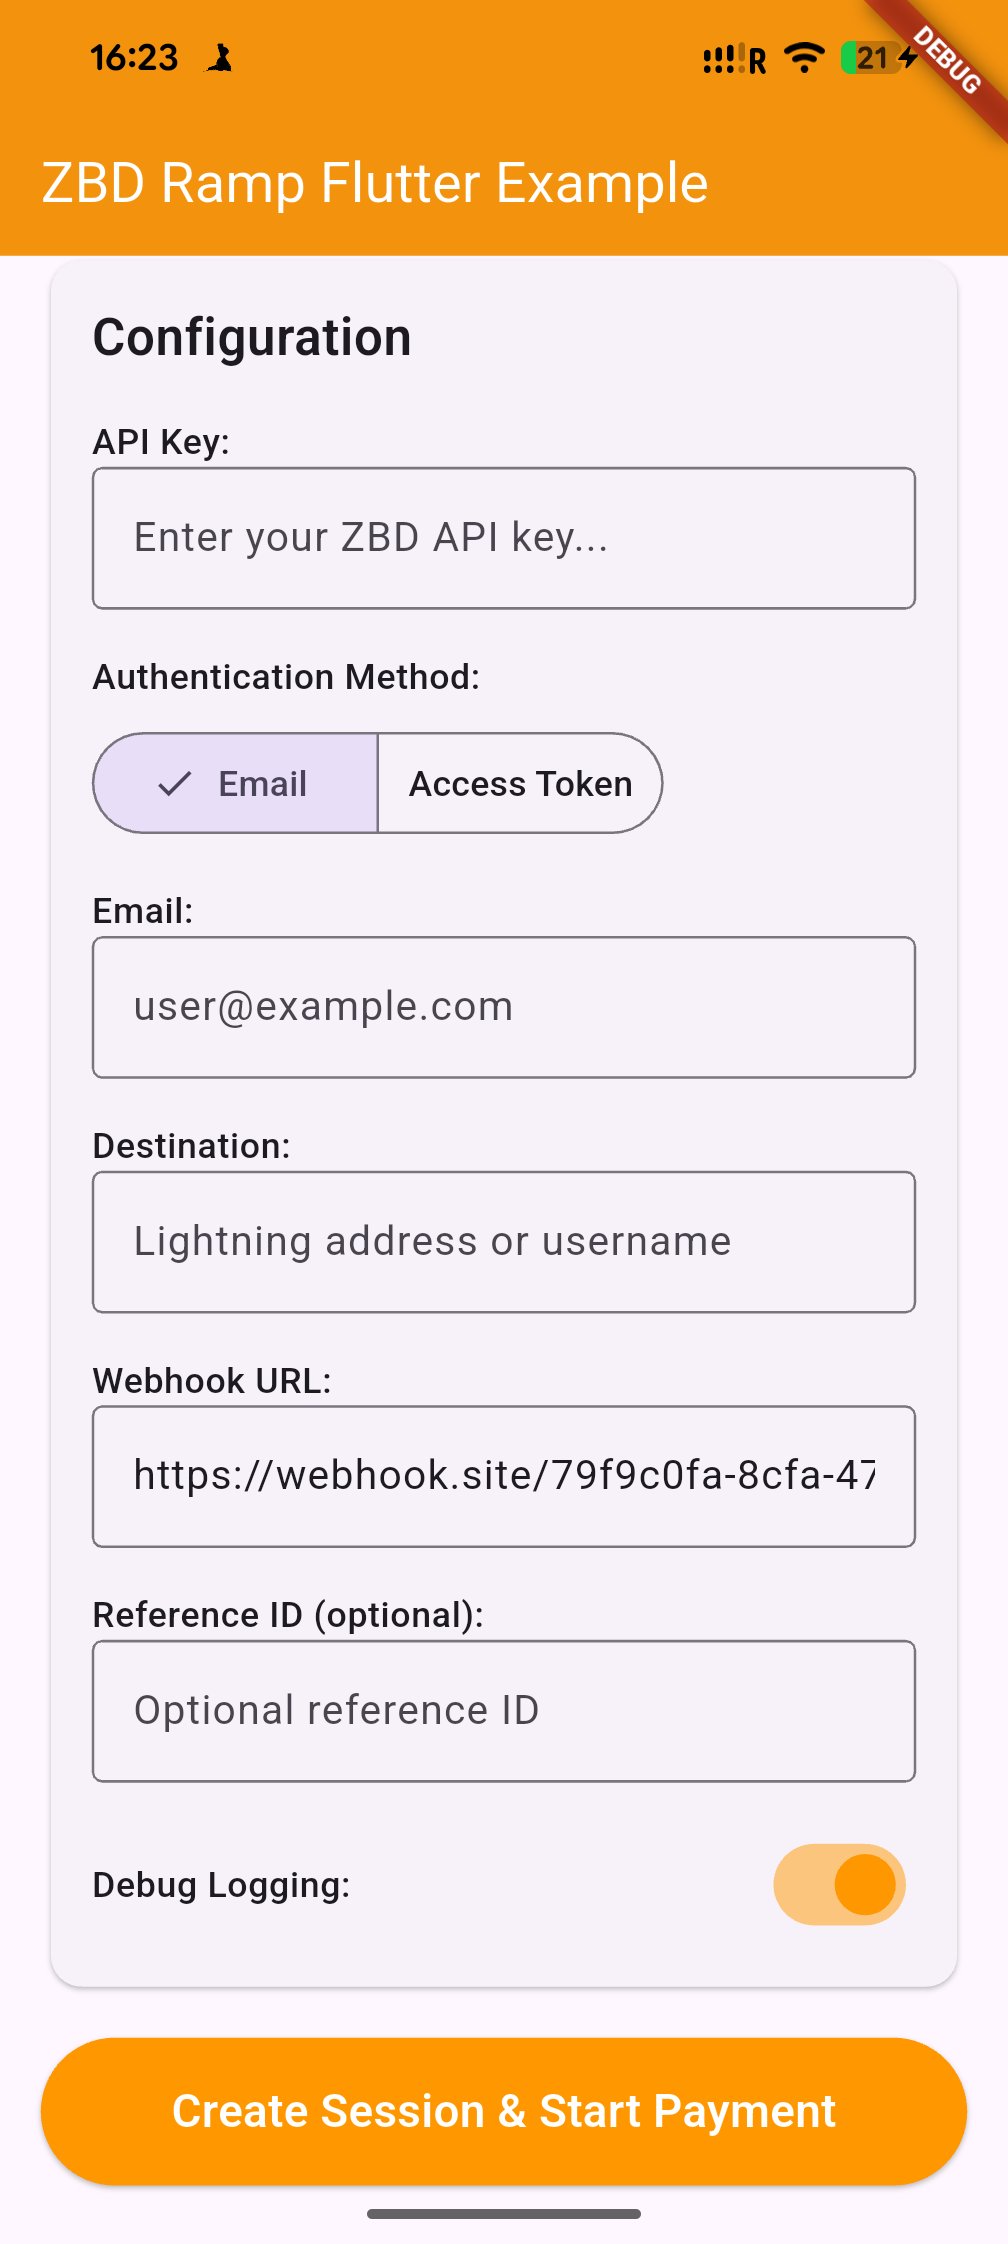 **Features:**
* Flutter widget integration
* Platform-specific handling
* Material Design patterns
* State management
Flutter widget integration for iOS and Android. See the [Flutter SDK documentation](/payments/ramp/sdks/flutter) for implementation details.
These example applications demonstrate production-ready patterns for integrating ZBD Ramp. Use them as a starting point for your own implementation.
***
## Next Steps
See a complete walkthrough of the user experience
Learn how to customize the widget to match your brand
Explore all available webhook events and payloads
View the complete API documentation
Schedule a technical support session with our team
**Features:**
* Flutter widget integration
* Platform-specific handling
* Material Design patterns
* State management
Flutter widget integration for iOS and Android. See the [Flutter SDK documentation](/payments/ramp/sdks/flutter) for implementation details.
These example applications demonstrate production-ready patterns for integrating ZBD Ramp. Use them as a starting point for your own implementation.
***
## Next Steps
See a complete walkthrough of the user experience
Learn how to customize the widget to match your brand
Explore all available webhook events and payloads
View the complete API documentation
Schedule a technical support session with our team