> ## Documentation Index
> Fetch the complete documentation index at: https://docs.zbdpay.com/llms.txt
> Use this file to discover all available pages before exploring further.
# User Flow Walkthrough
> Visual walkthrough of the complete ZBD Ramp user experience
This guide walks through the complete user journey in the ZBD Ramp widget, from initial screen to completed purchase. Use this reference to understand what your users will experience when buying Bitcoin through your app.
## 1. Initial Screen
When users first launch the ramp widget, they're greeted with a clean, intuitive interface to begin their purchase journey.
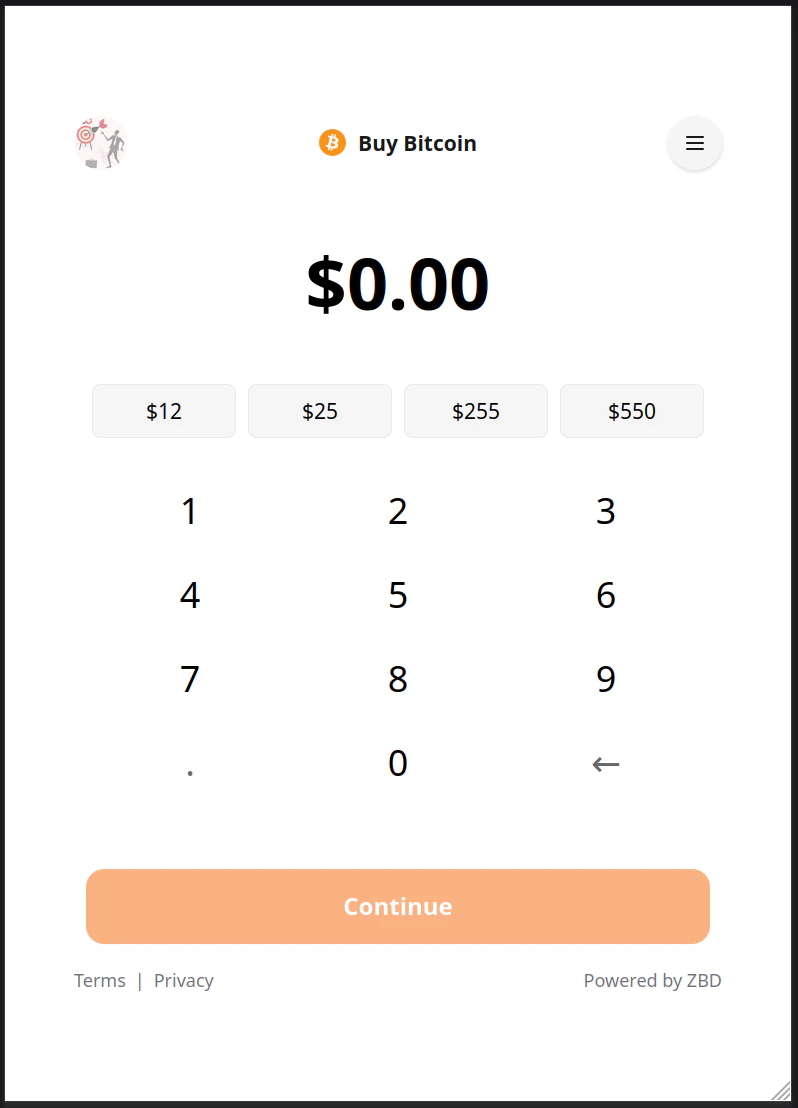 The initial screen presents the core functionality and guides users to begin the purchase process.
***
## 2. Email Verification
To ensure account security and compliance, users must verify their email address before proceeding.
The initial screen presents the core functionality and guides users to begin the purchase process.
***
## 2. Email Verification
To ensure account security and compliance, users must verify their email address before proceeding.
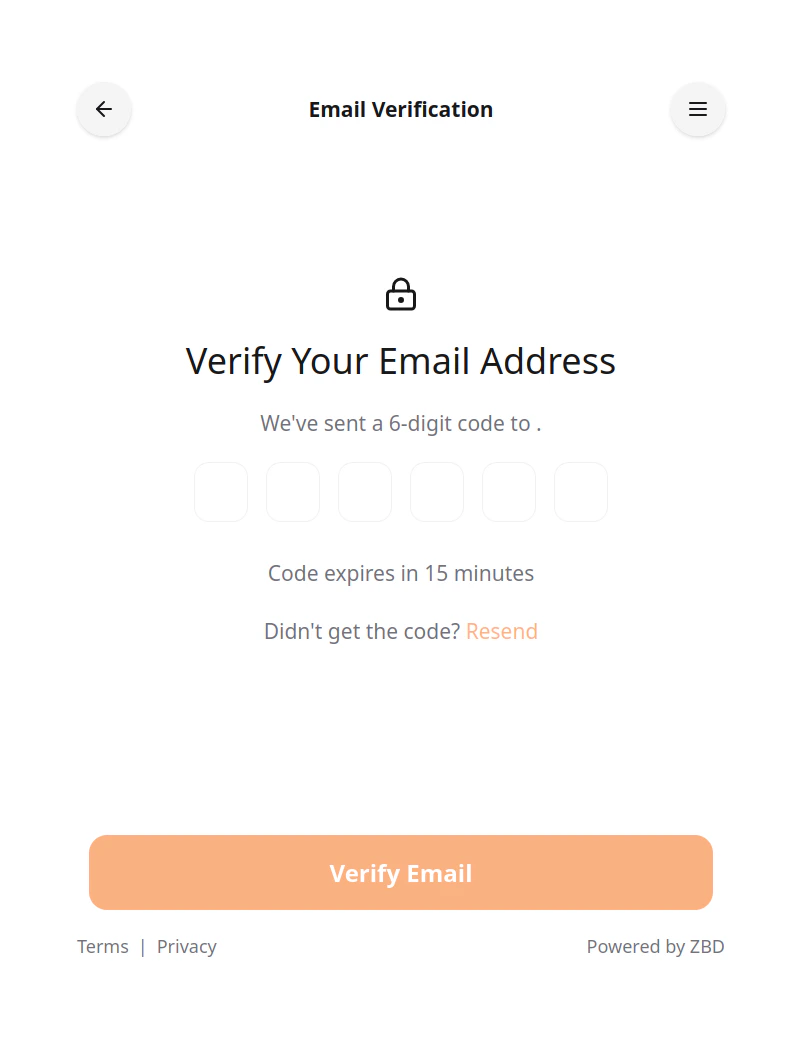 Users receive a verification code via email and enter it to confirm their identity and proceed to KYC.
***
## 3. KYC Flow
The Know Your Customer (KYC) process is streamlined into clear steps. This is required for regulatory compliance and fraud prevention.
### Step 1: Getting Started
Users receive a verification code via email and enter it to confirm their identity and proceed to KYC.
***
## 3. KYC Flow
The Know Your Customer (KYC) process is streamlined into clear steps. This is required for regulatory compliance and fraud prevention.
### Step 1: Getting Started
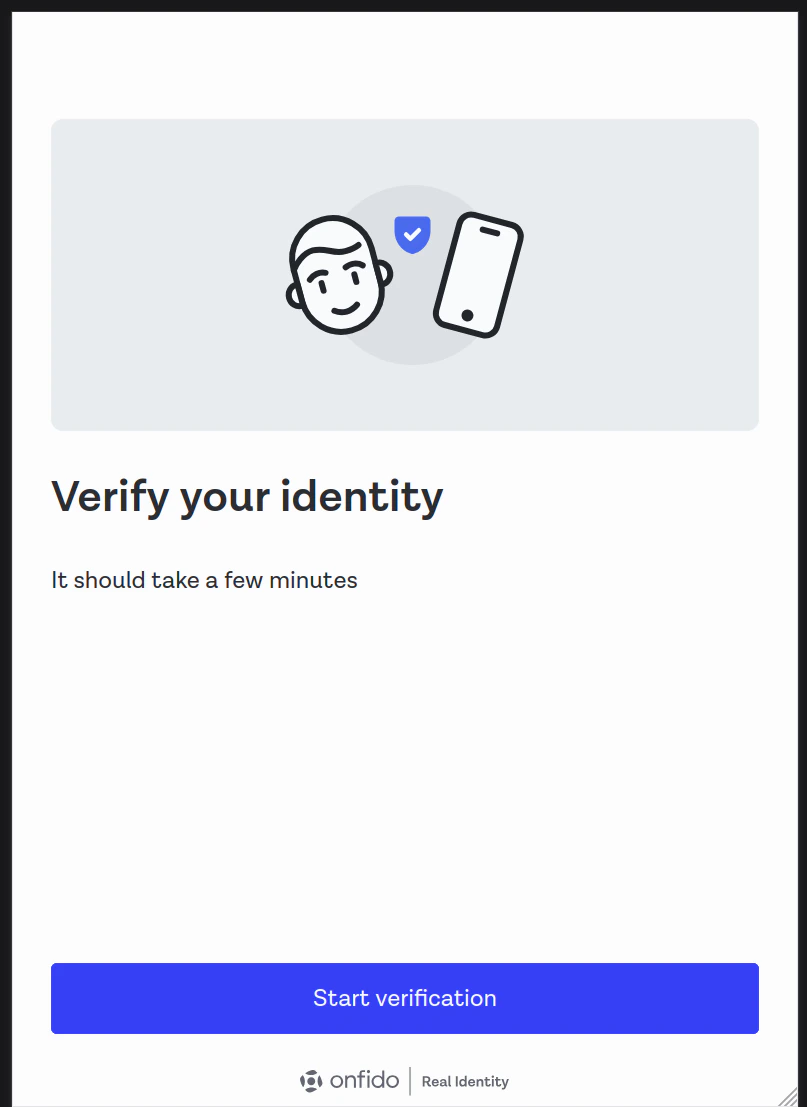 Users are introduced to the KYC process and what information they'll need to provide.
### Step 2: Country Selection
Users are introduced to the KYC process and what information they'll need to provide.
### Step 2: Country Selection
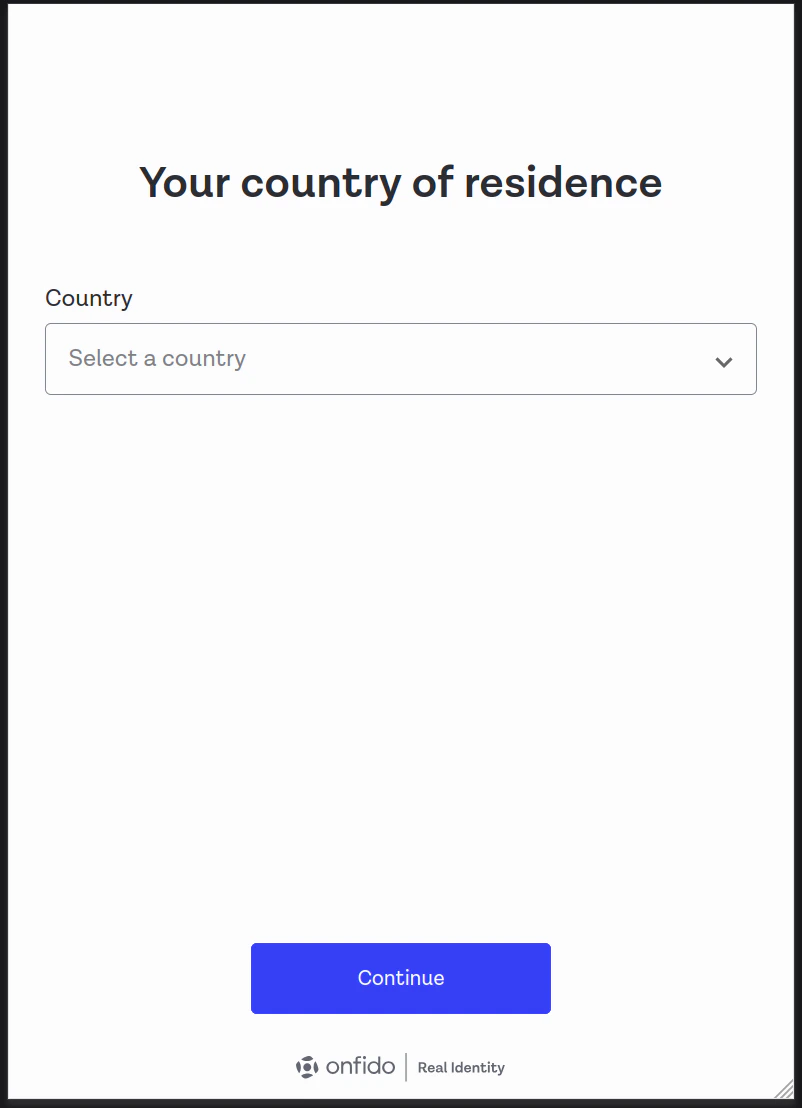 Users select their country of residence. This determines available payment methods and compliance requirements.
### Step 3: Personal Information
Users select their country of residence. This determines available payment methods and compliance requirements.
### Step 3: Personal Information
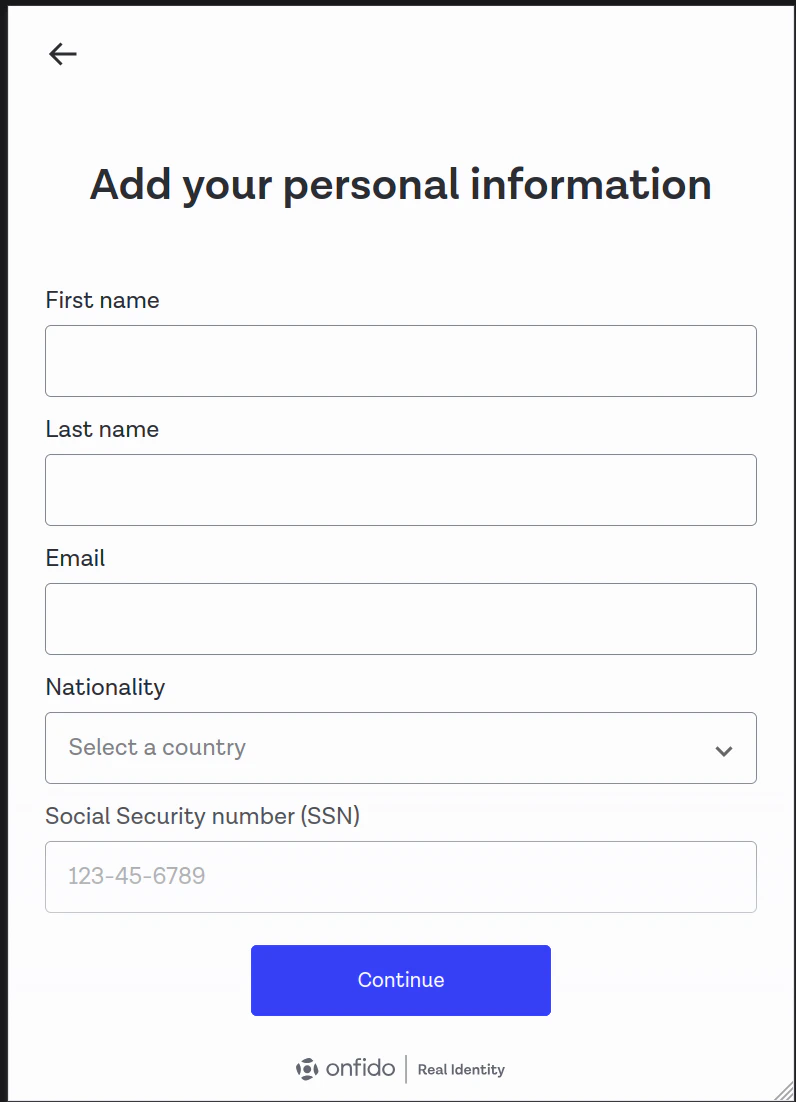 Users provide basic personal information including full name, date of birth, and other required details.
### Step 4: Address
Users provide basic personal information including full name, date of birth, and other required details.
### Step 4: Address
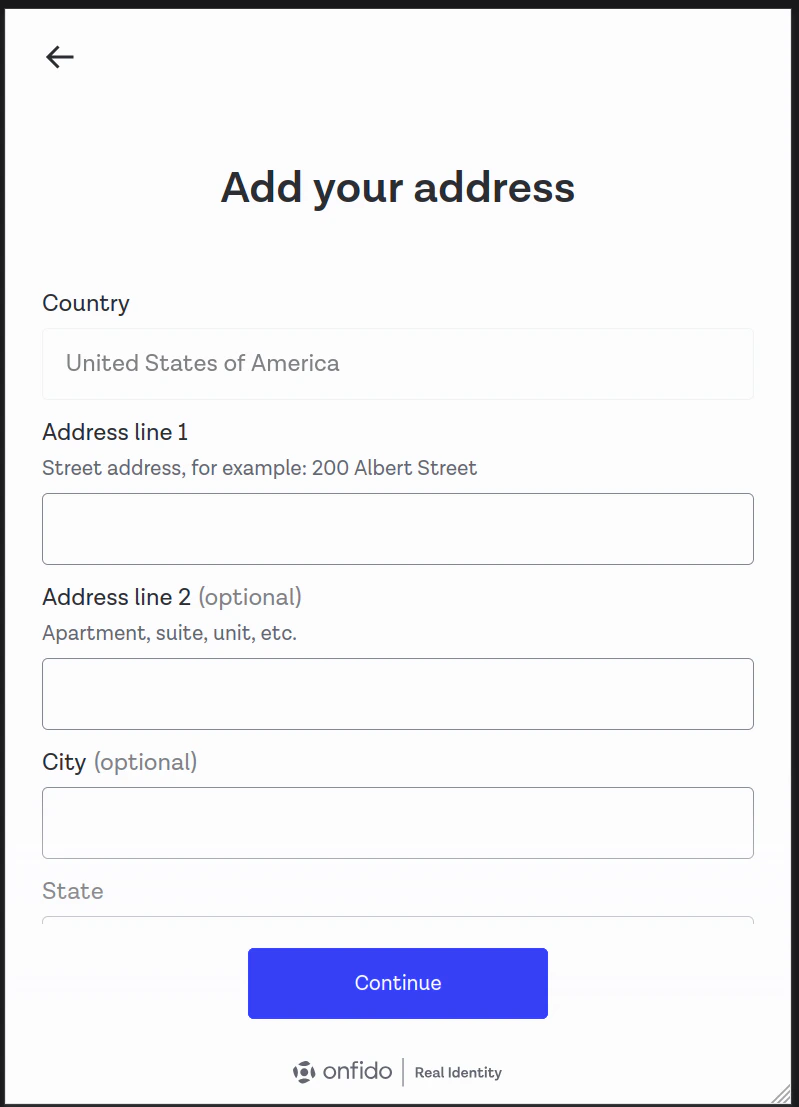 Users enter their residential address for identity verification purposes.
### Step 5: Document Selection
Users enter their residential address for identity verification purposes.
### Step 5: Document Selection
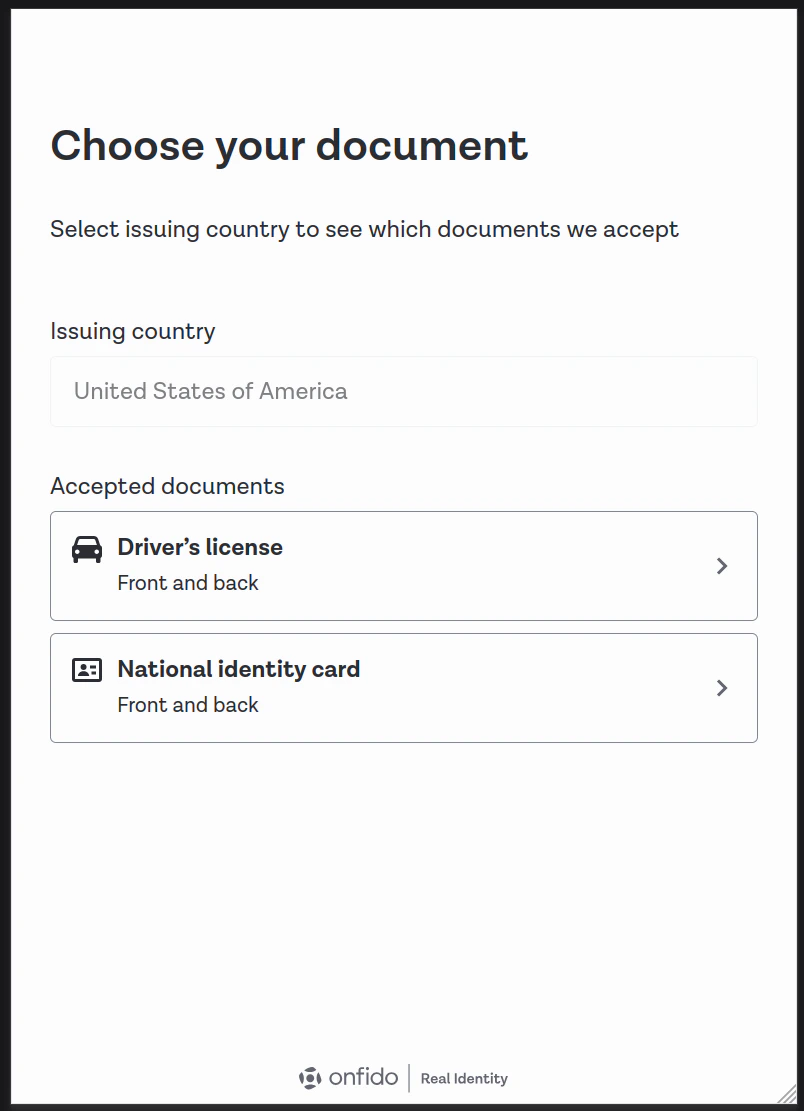 Users choose which type of government-issued ID they'll upload (passport, driver's license, etc.).
### Step 6: Document Upload
Users choose which type of government-issued ID they'll upload (passport, driver's license, etc.).
### Step 6: Document Upload
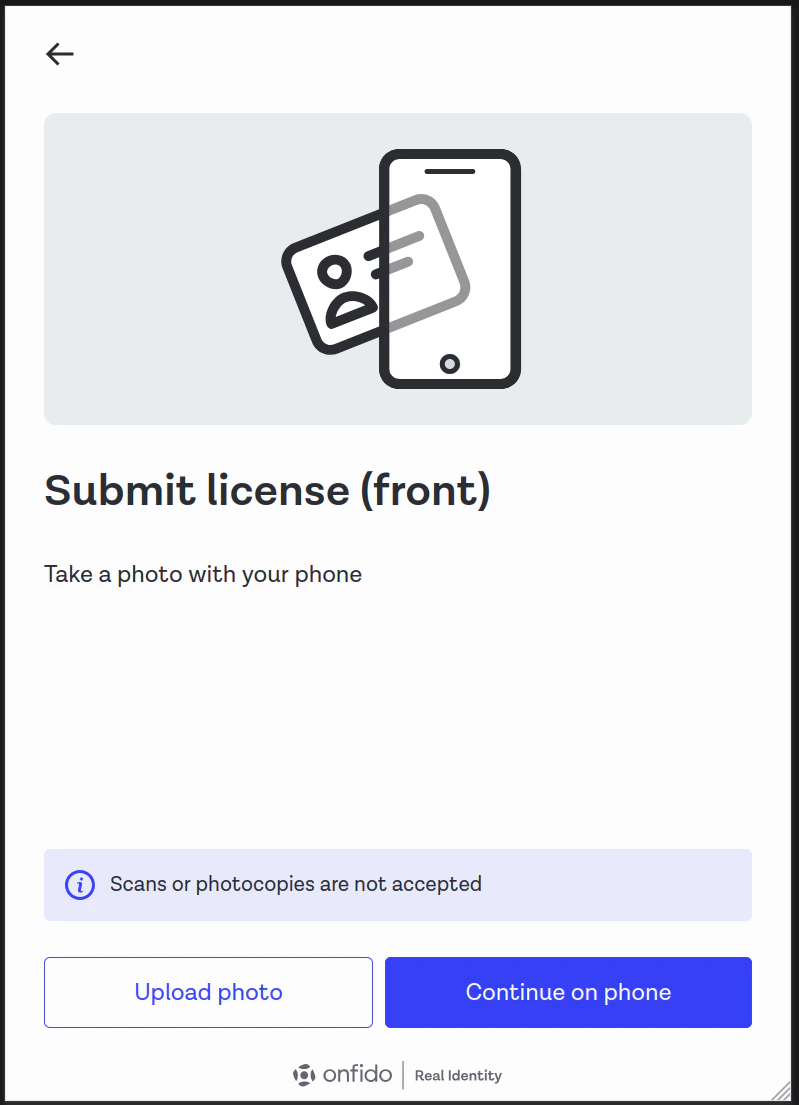 Users can upload documents directly or receive a secure link to complete the upload on their phone.
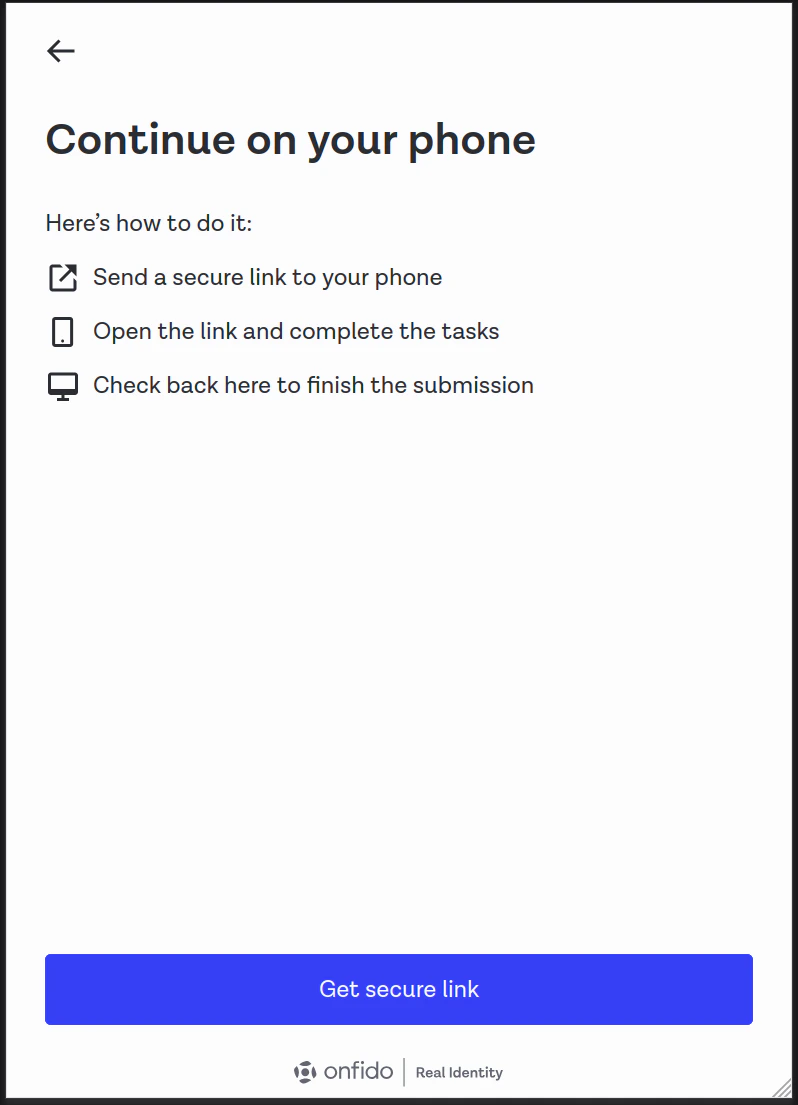 Users can scan a QR code or receive a link to upload from their mobile device.
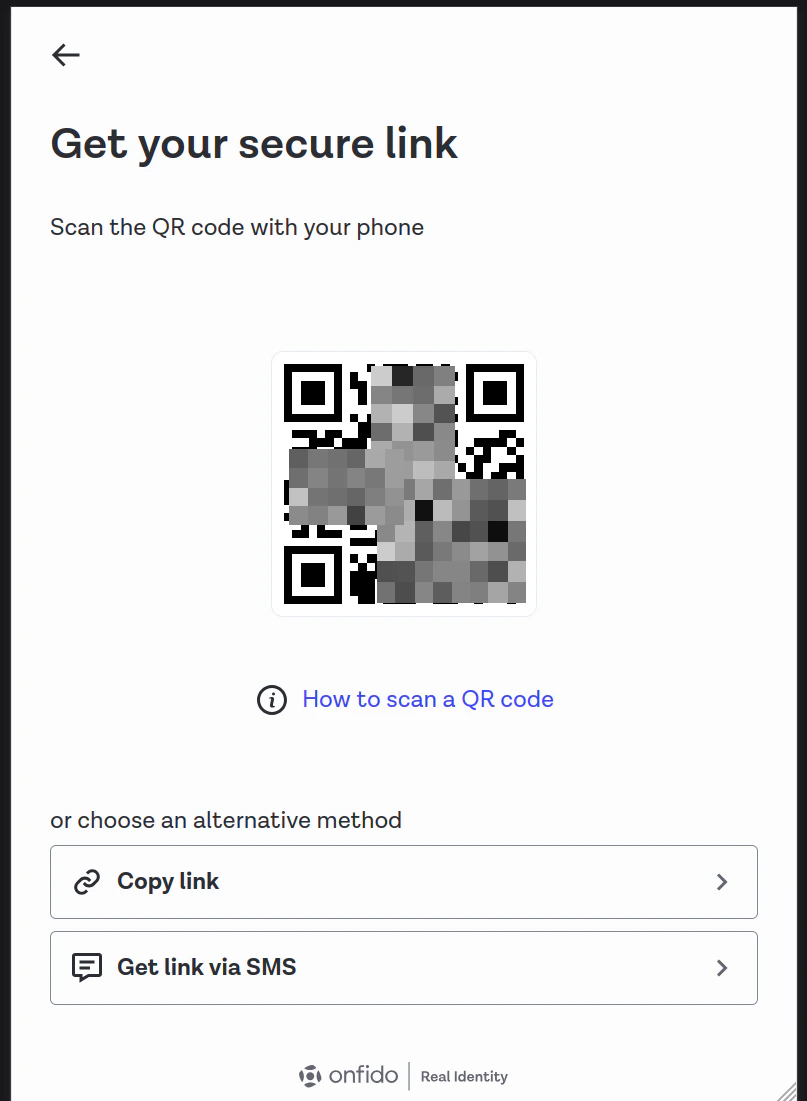 A secure, one-time link is generated for mobile document uploads.
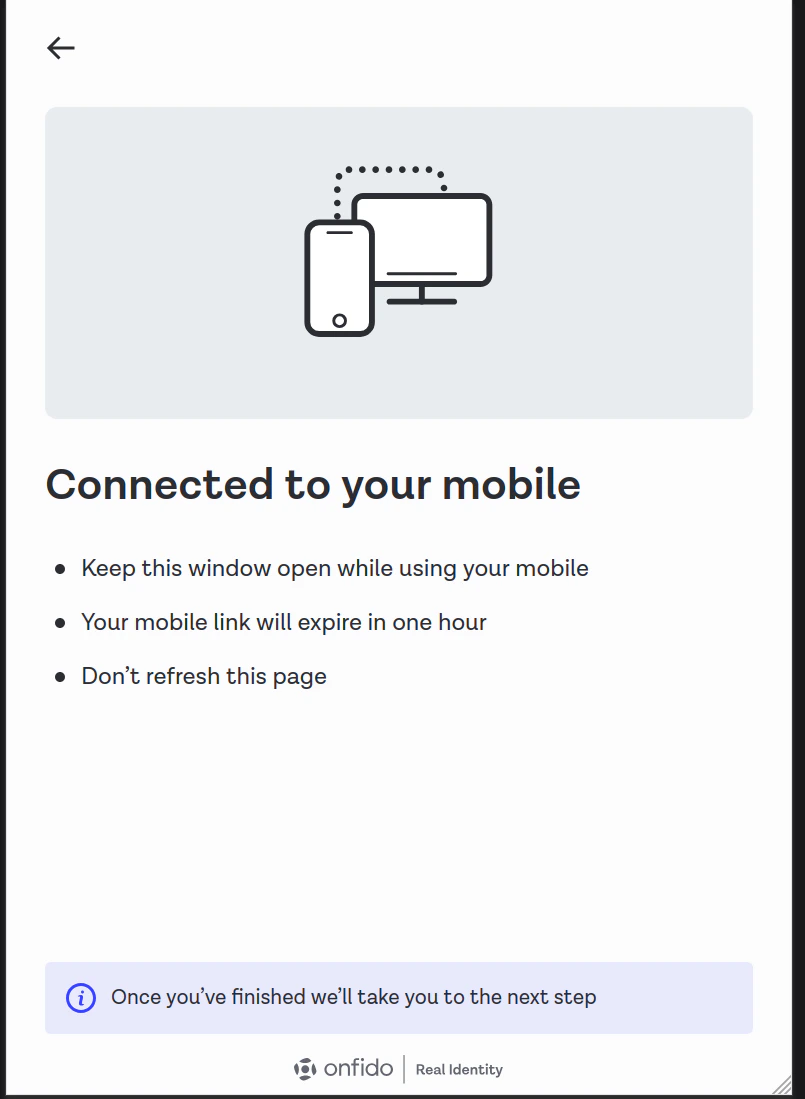 Confirmation that the mobile device is connected and ready for upload.
***
## 4. KYC Processing
After submitting KYC information, users enter the verification stage.
Confirmation that the mobile device is connected and ready for upload.
***
## 4. KYC Processing
After submitting KYC information, users enter the verification stage.
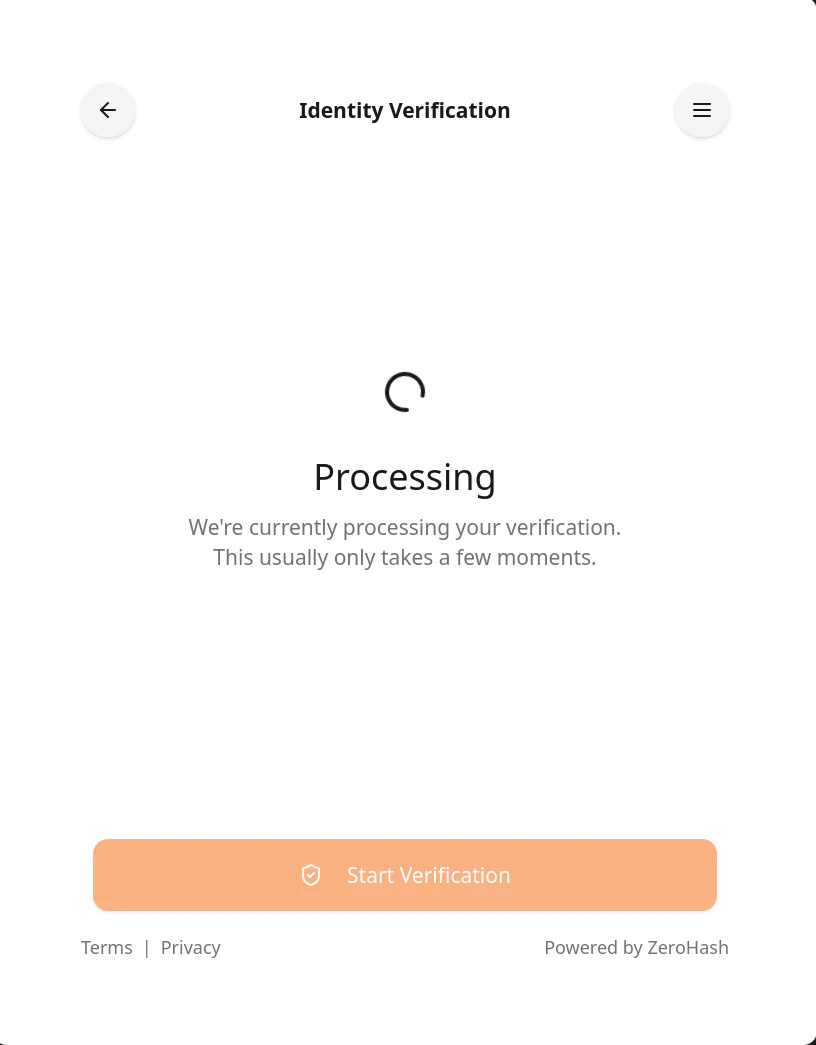 Users see a processing screen while their information is being verified. This typically takes just a few moments.
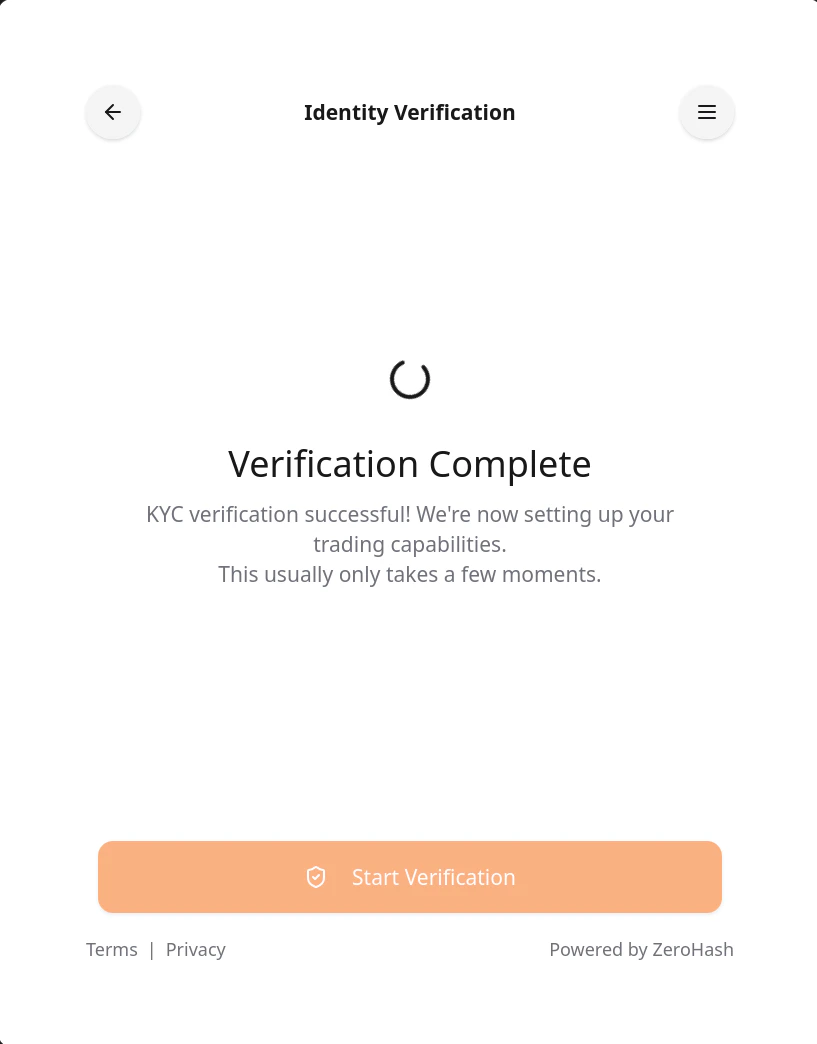 Upon successful verification, users are cleared to proceed with their purchase.
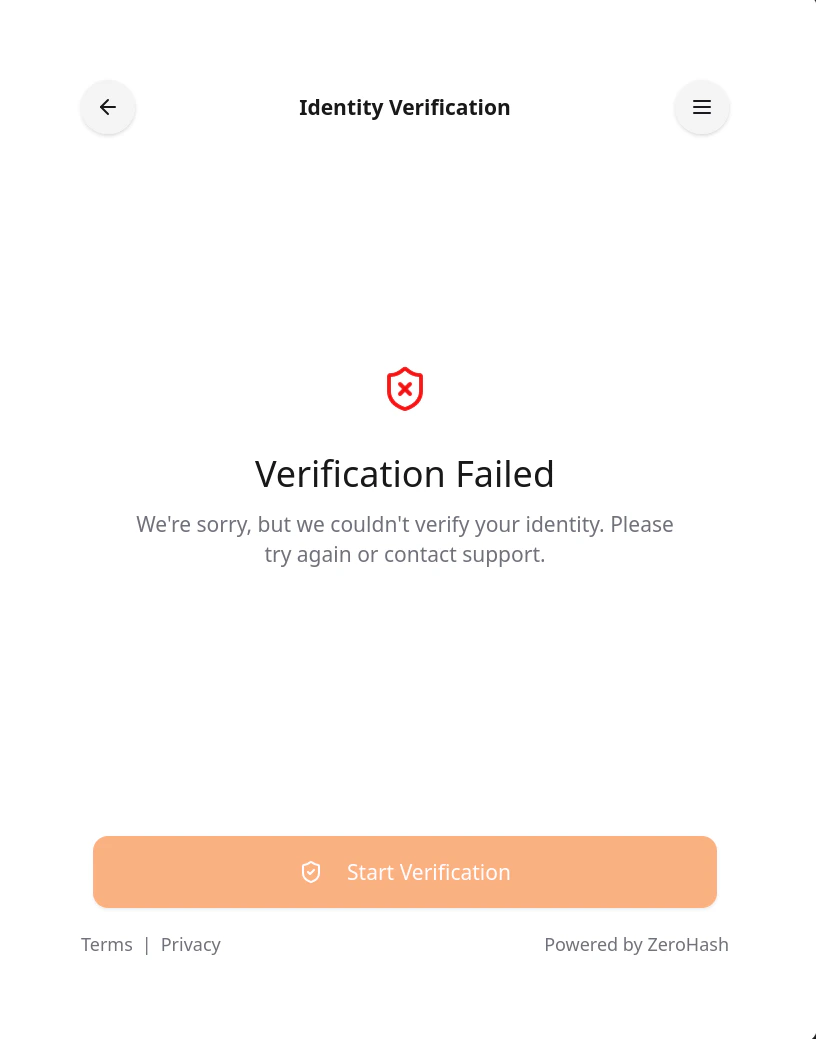 If verification fails, users receive clear guidance on next steps or alternative options.
***
## 5. Payment Method Selection
Once KYC is approved, users choose how they want to pay for their Bitcoin.
If verification fails, users receive clear guidance on next steps or alternative options.
***
## 5. Payment Method Selection
Once KYC is approved, users choose how they want to pay for their Bitcoin.
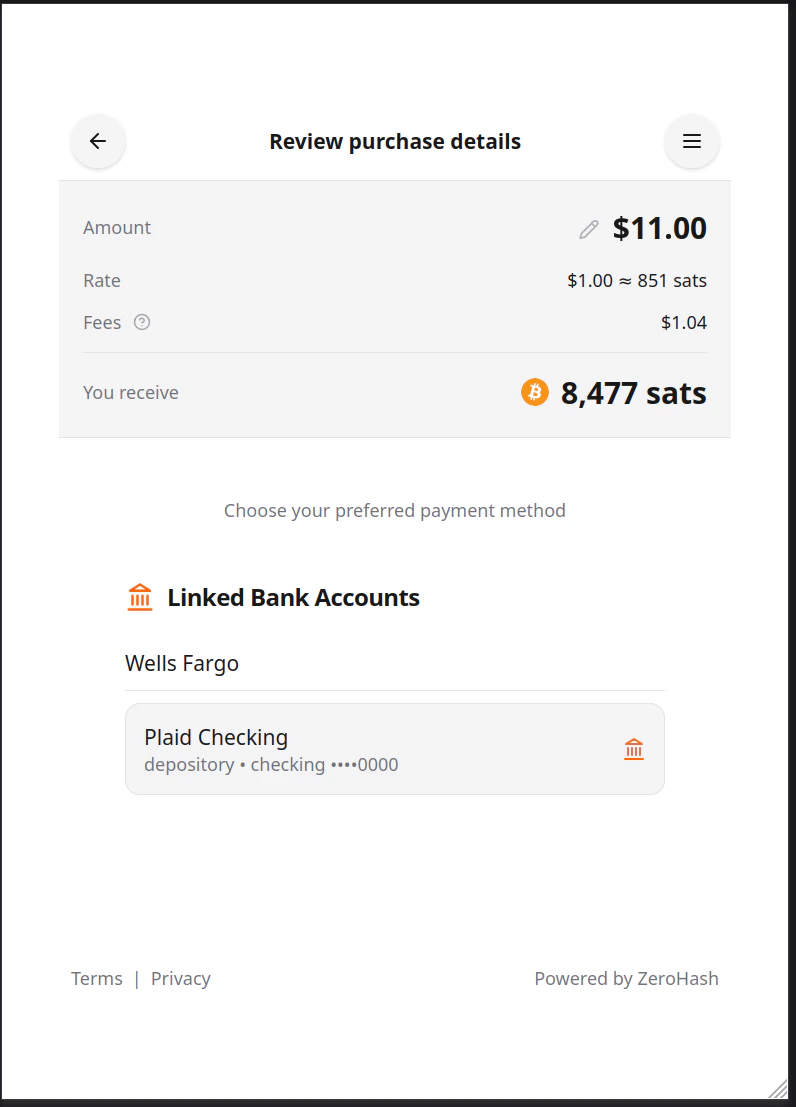 Users can connect their bank account via Plaid for ACH payments. Additional payment methods are coming soon.
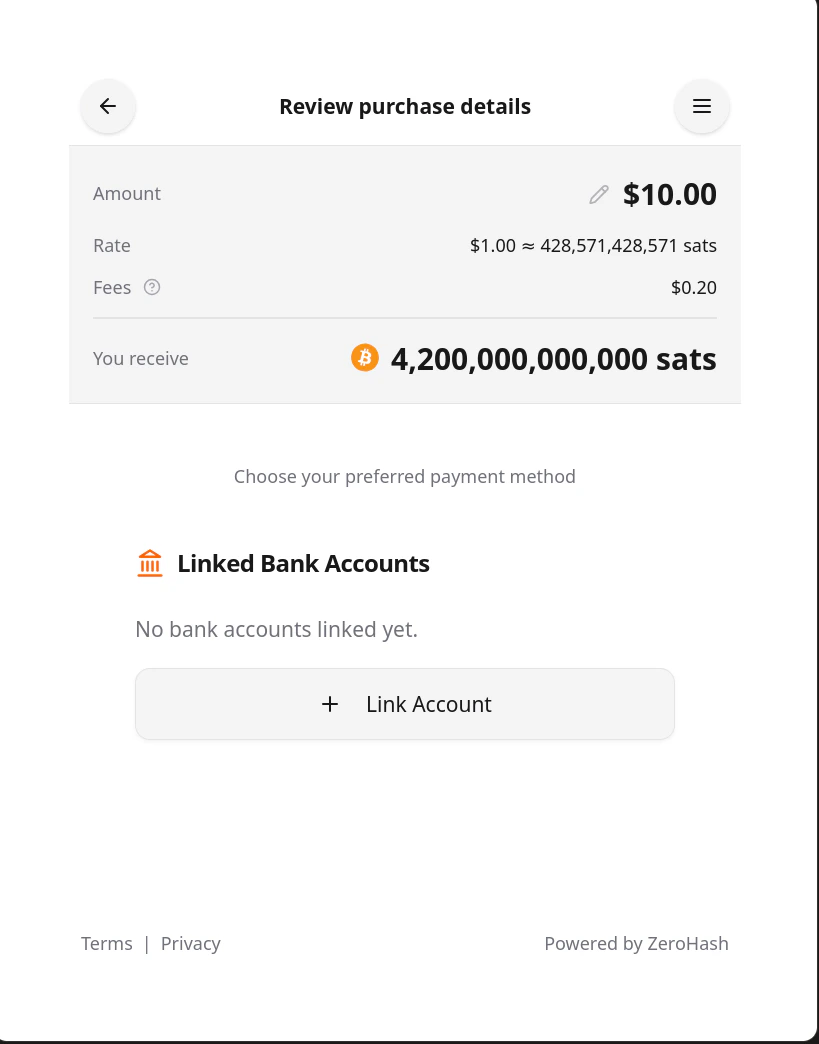
If a user hasn't linked a bank account yet, they'll see an option to connect via Plaid.
Users can connect their bank account via Plaid for ACH payments. Additional payment methods are coming soon.
If a user hasn't linked a bank account yet, they'll see an option to connect via Plaid.
 ***
## 6. Plaid Bank Connection
To enable bank payments, users securely connect their bank account through Plaid.
### Plaid Flow Steps
***
## 6. Plaid Bank Connection
To enable bank payments, users securely connect their bank account through Plaid.
### Plaid Flow Steps
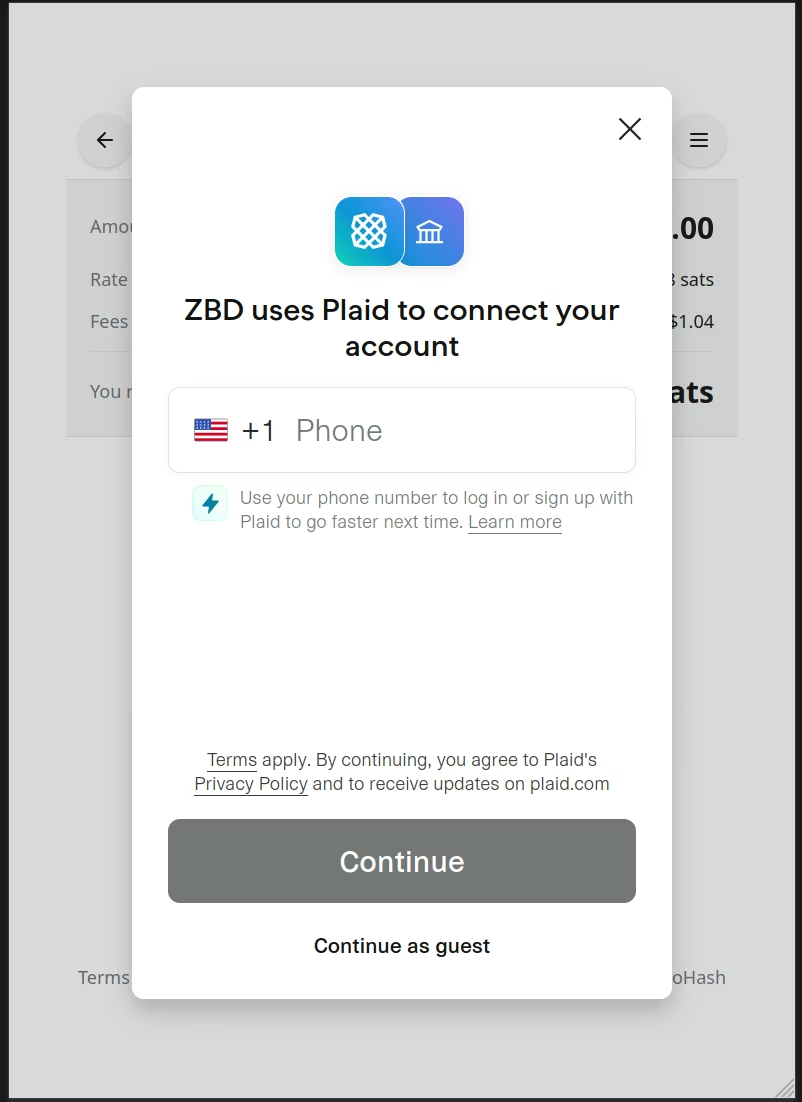 Users are introduced to the secure Plaid connection process.
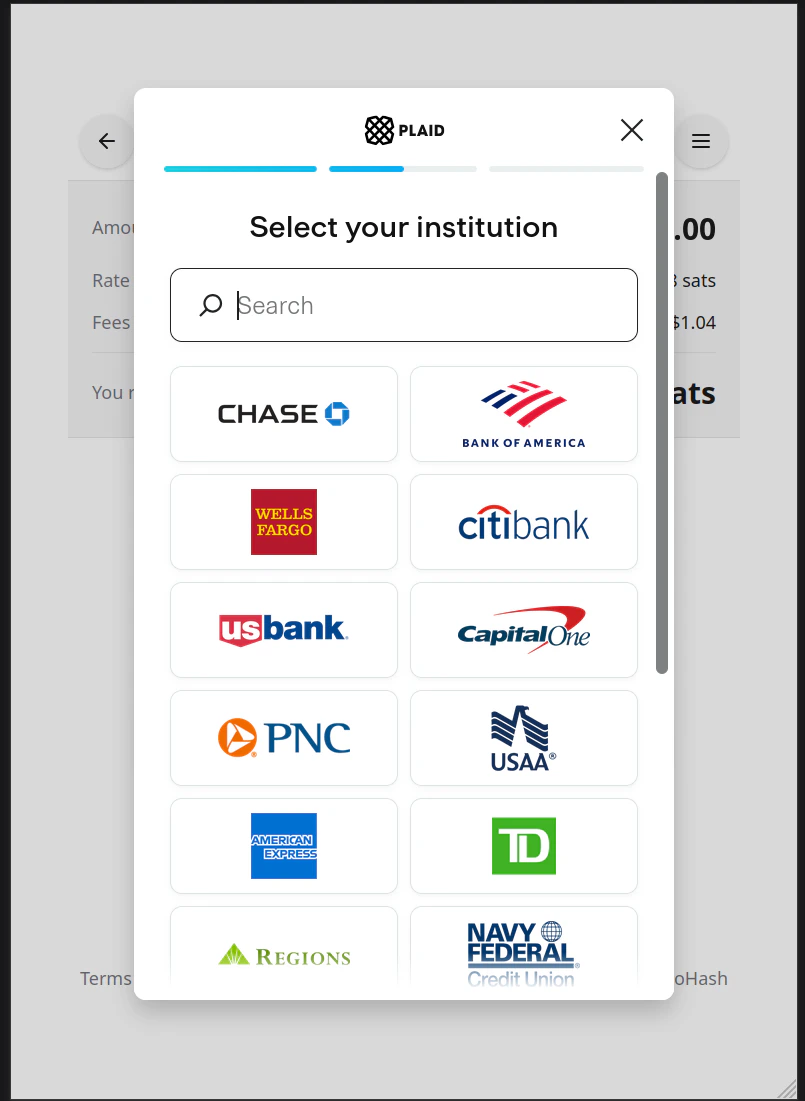 Users search for and select their bank from thousands of supported institutions.
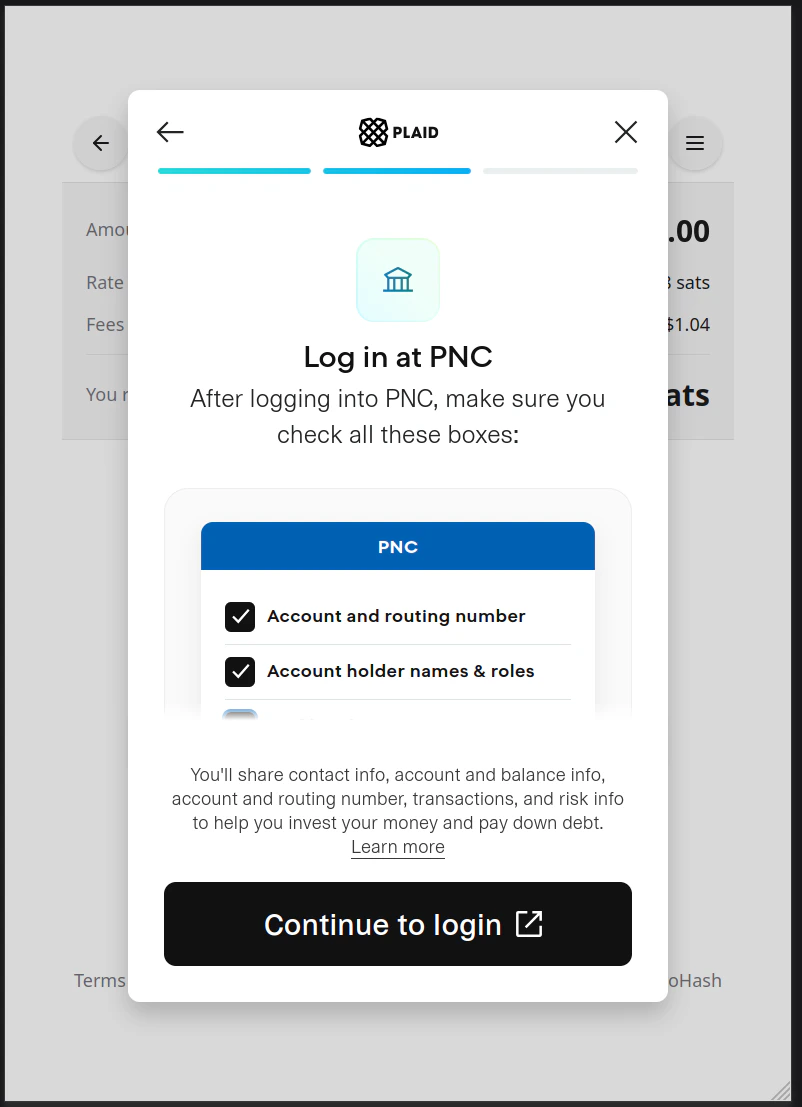 Users log into their bank account securely through Plaid's interface.
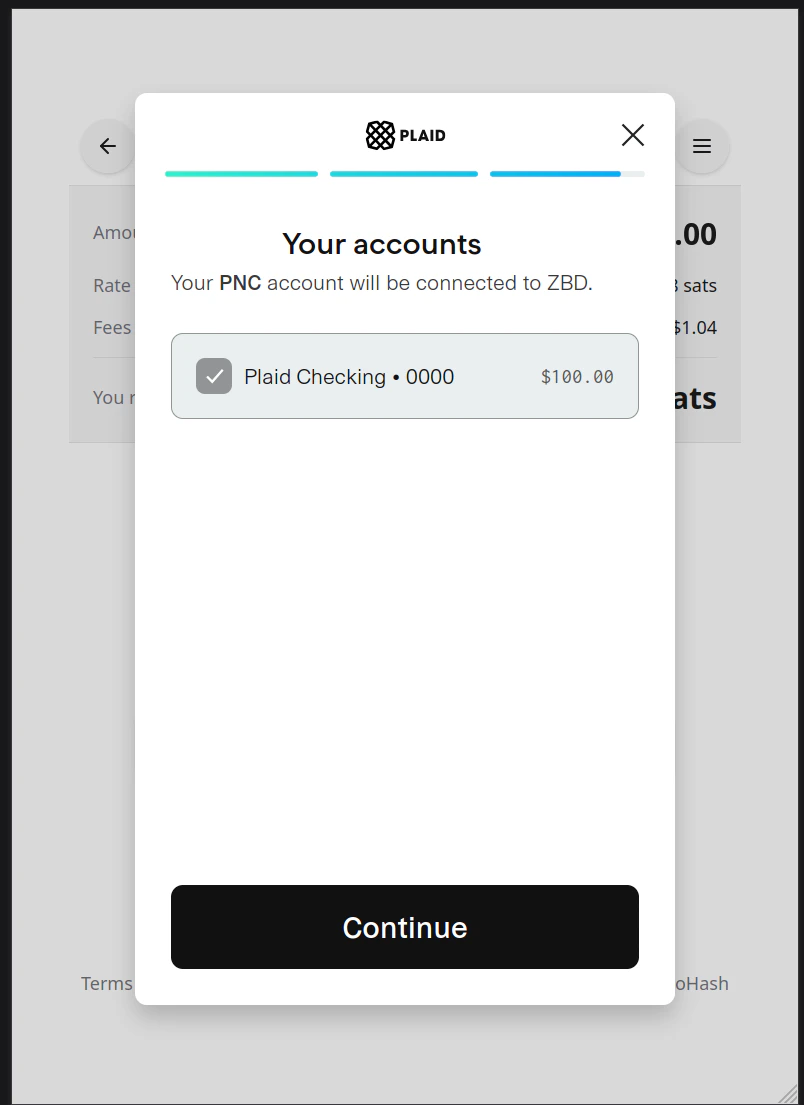 Confirmation that the bank account is successfully connected and ready for payments.
***
## 7. Payment Confirmation
After payment method setup, users confirm their purchase details.
Confirmation that the bank account is successfully connected and ready for payments.
***
## 7. Payment Confirmation
After payment method setup, users confirm their purchase details.
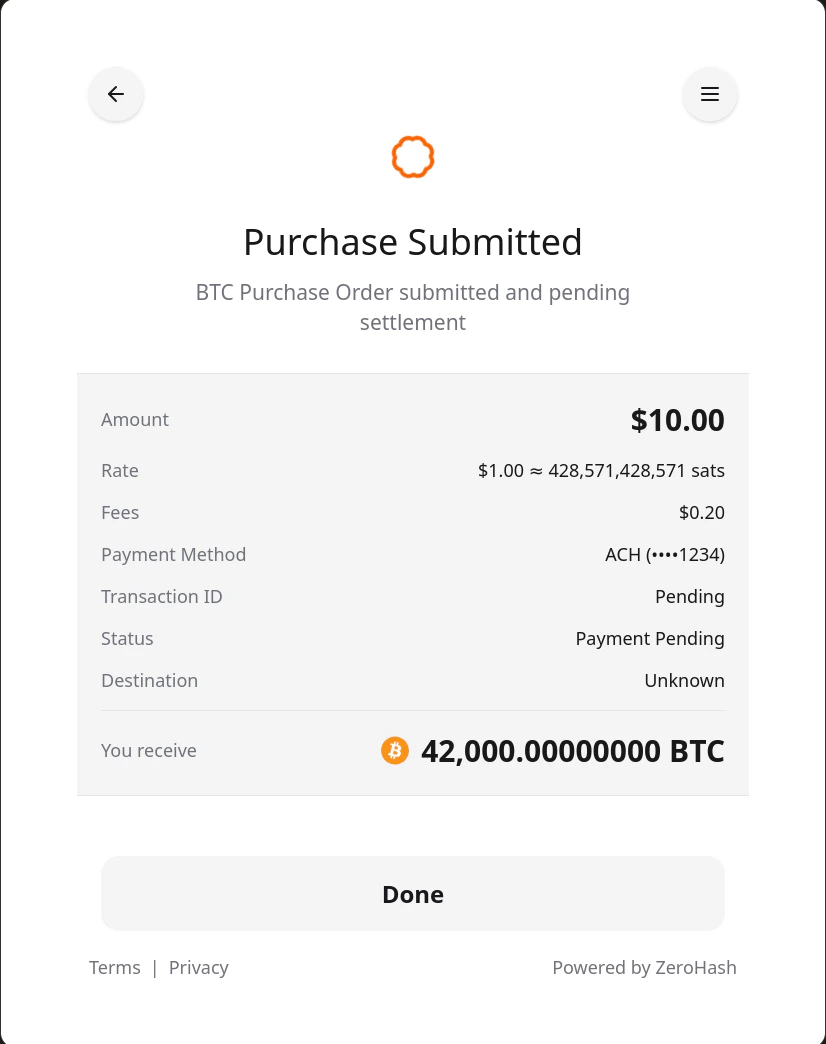 Users see a success screen confirming their Bitcoin purchase and delivery details.
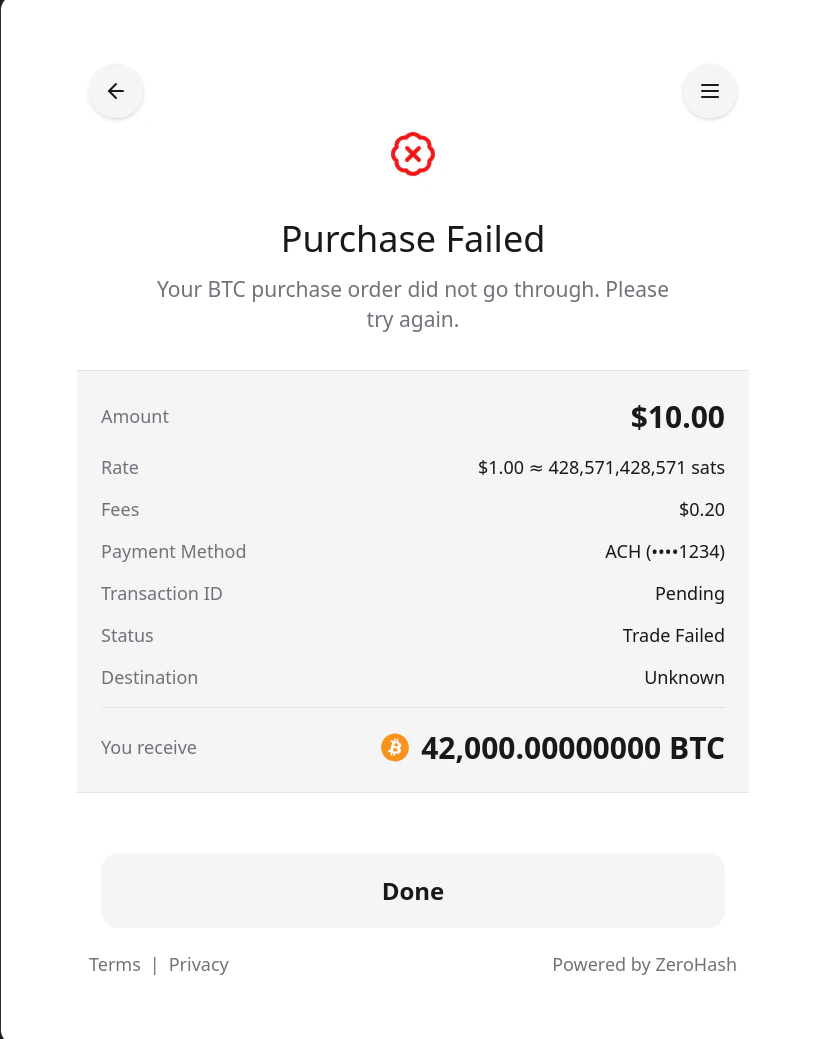 If the payment fails, users receive clear error messages and options to retry.
***
## 8. Transaction Management
Users can view their transaction history and details at any time.
### Transaction History
If the payment fails, users receive clear error messages and options to retry.
***
## 8. Transaction Management
Users can view their transaction history and details at any time.
### Transaction History
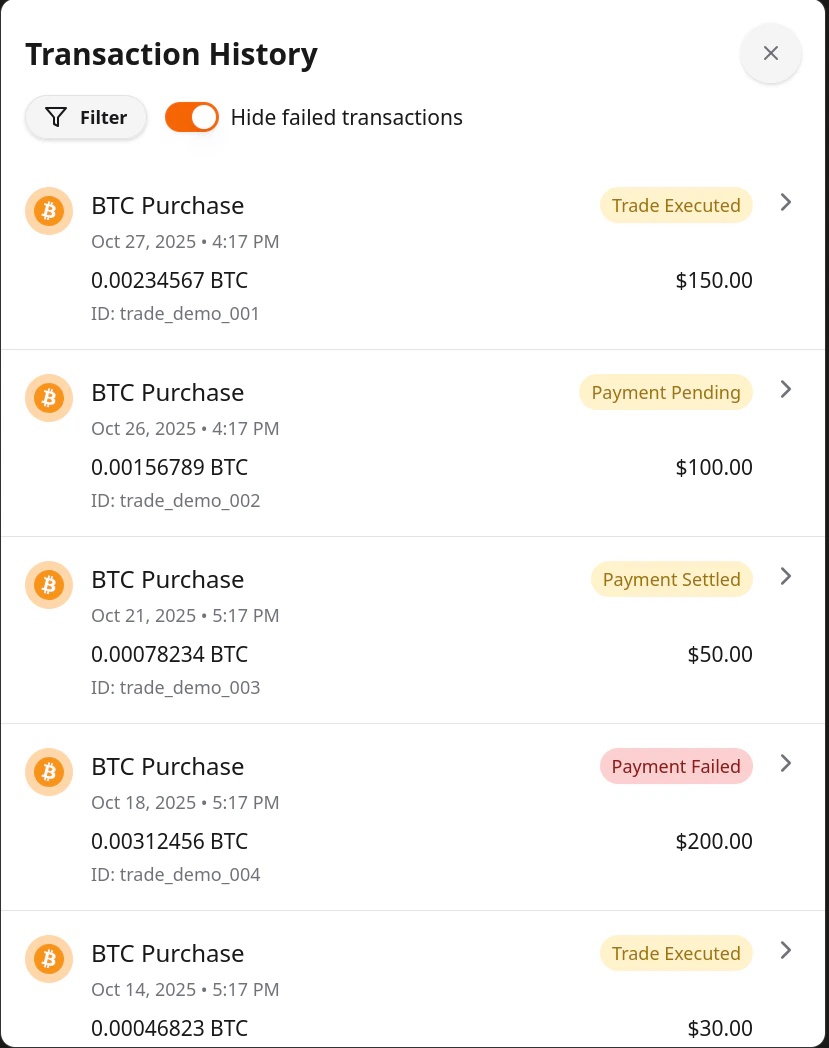 A comprehensive list of all past and pending transactions, with status indicators for easy tracking.
### Transaction Details
A comprehensive list of all past and pending transactions, with status indicators for easy tracking.
### Transaction Details
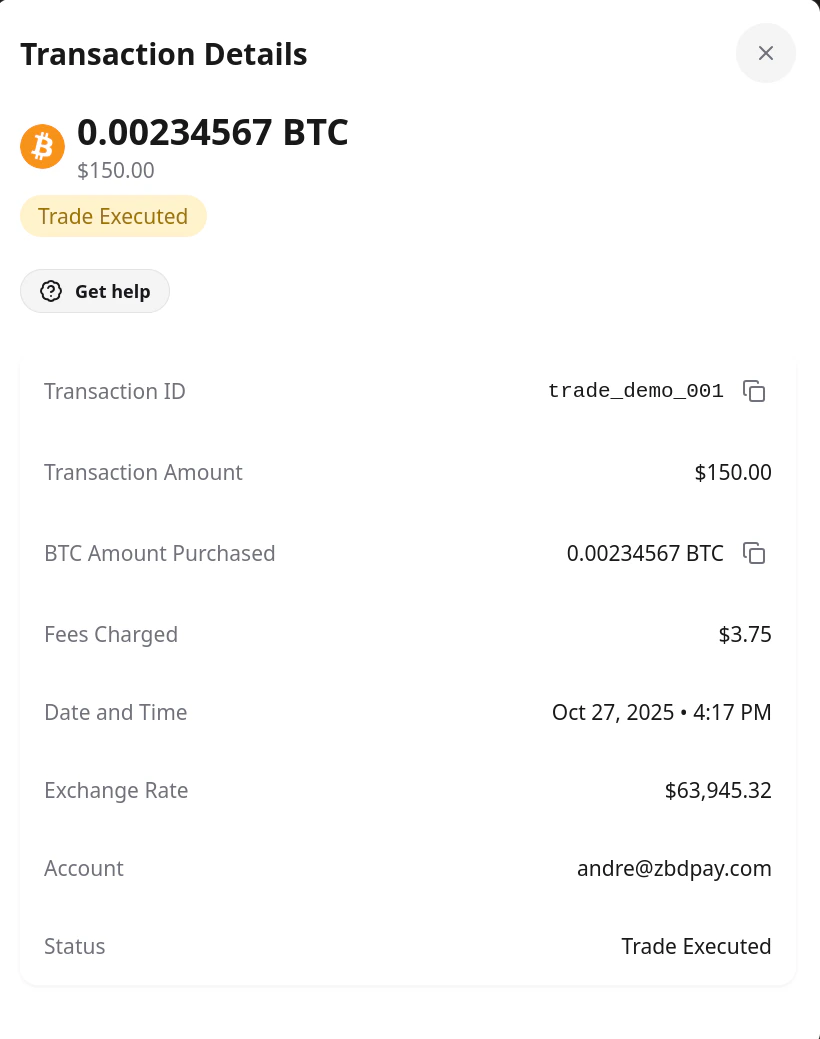 Detailed view of individual transactions including amounts, timestamps, fees, and destination addresses.
***
## Integration Tips
Design your app to seamlessly transition users into the ramp widget. Consider the context and timing of when you present the purchase option.
Implement webhook handlers to process purchase events and update your app state in real-time as users progress through the flow.
***
## Next Steps
Learn how to integrate the ZBD Ramp widget into your application
Customize the widget's theme to match your brand
Handle webhook events to track user progress and purchases
Explore the complete API documentation
Detailed view of individual transactions including amounts, timestamps, fees, and destination addresses.
***
## Integration Tips
Design your app to seamlessly transition users into the ramp widget. Consider the context and timing of when you present the purchase option.
Implement webhook handlers to process purchase events and update your app state in real-time as users progress through the flow.
***
## Next Steps
Learn how to integrate the ZBD Ramp widget into your application
Customize the widget's theme to match your brand
Handle webhook events to track user progress and purchases
Explore the complete API documentation